Edit Sections
For all users
Updated Sep 2025
Your website is built from sections, like hero banners, about areas, services, or contacts. You can add new sections, delete ones you don’t need, and rearrange them to create the layout that works best for your site. All these actions are accessible through the section toolbar at the bottom of each section.
Adding a section
This feature adds a new section to your page layout, like a hero banner or testimonials.
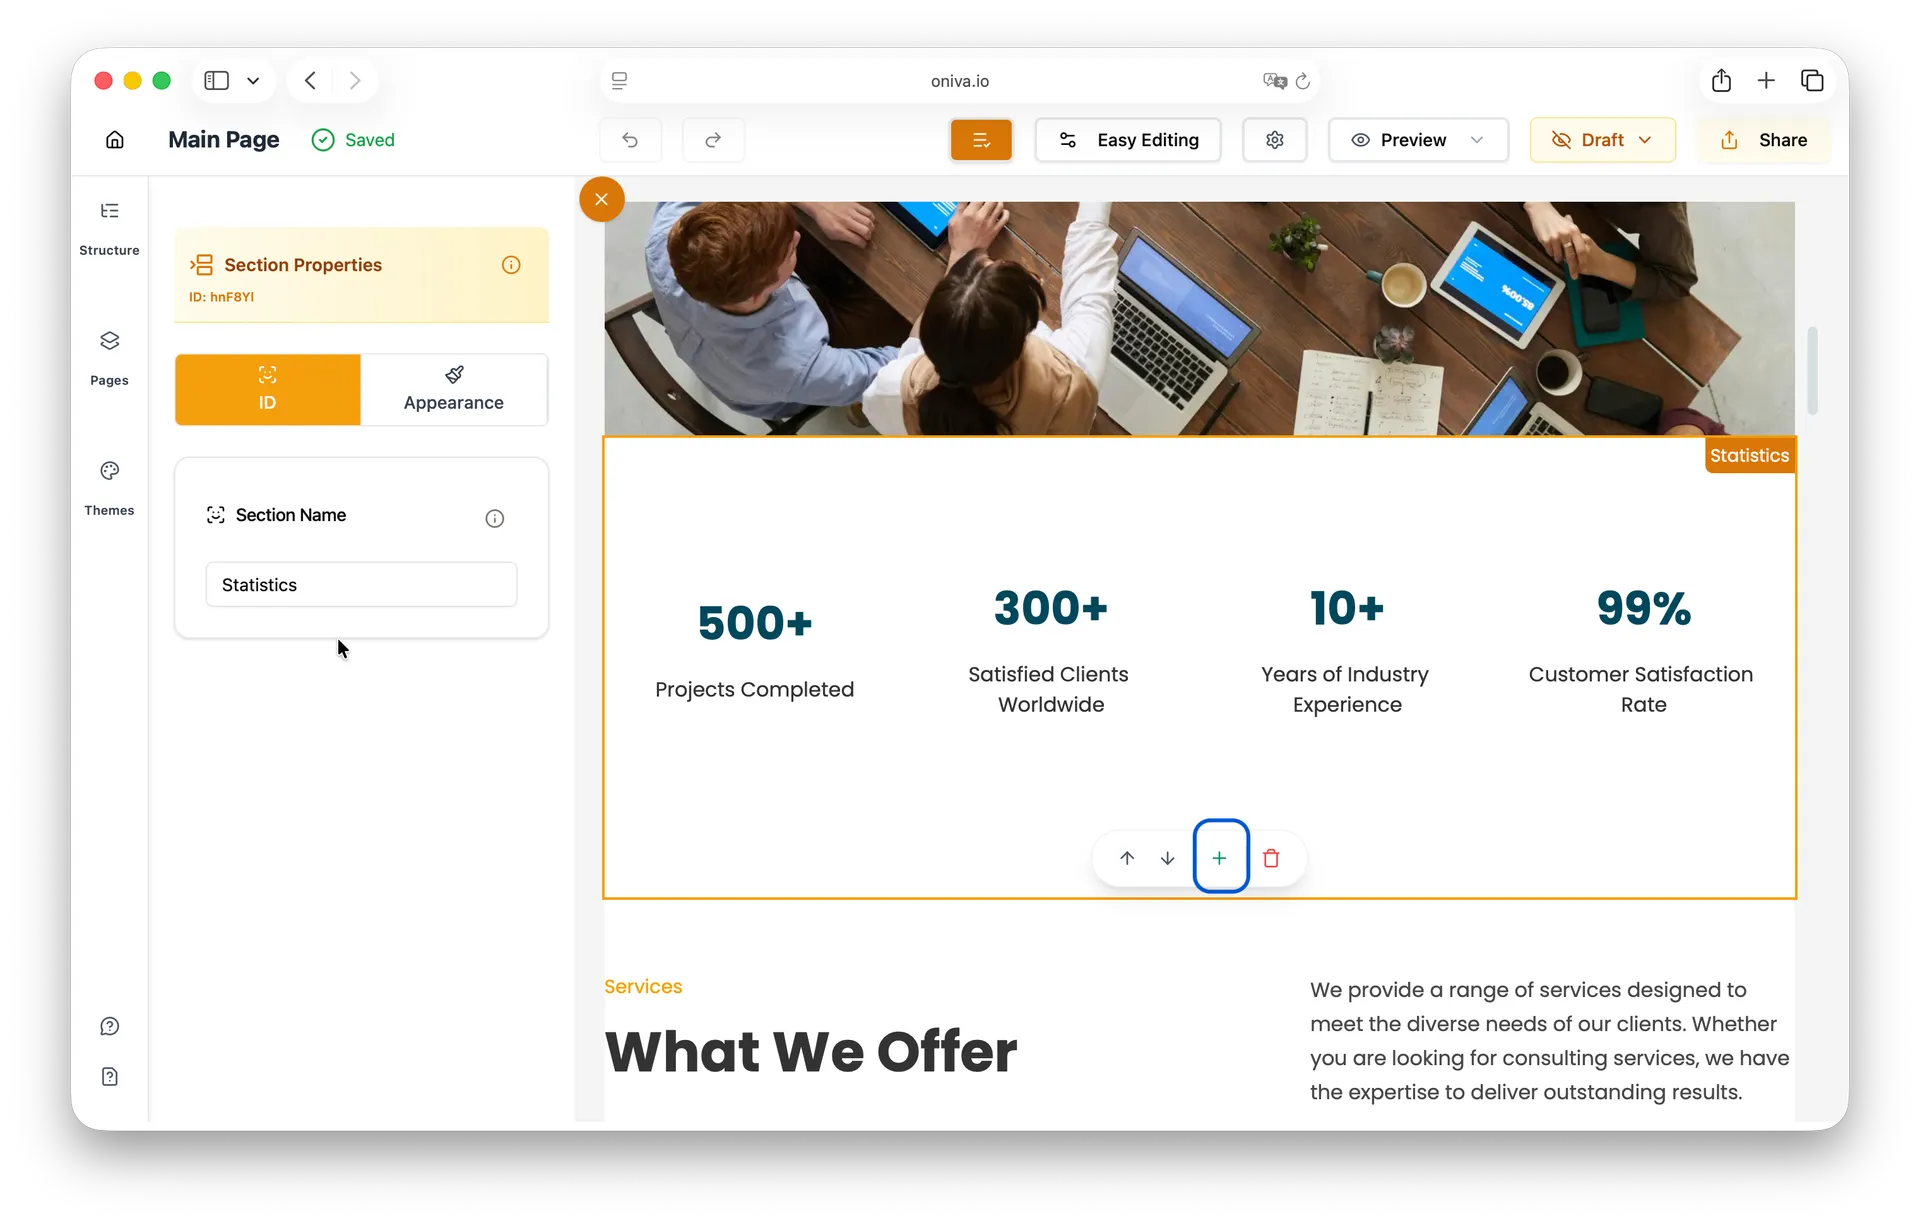
To add a new section to your website, follow these steps:
1 - Click on the section where you want to add a new one.
2 - At the bottom of the section, click the Add Section button (plus icon) on the section toolbar.
3 - Choose the type of section you want to add from the available options.
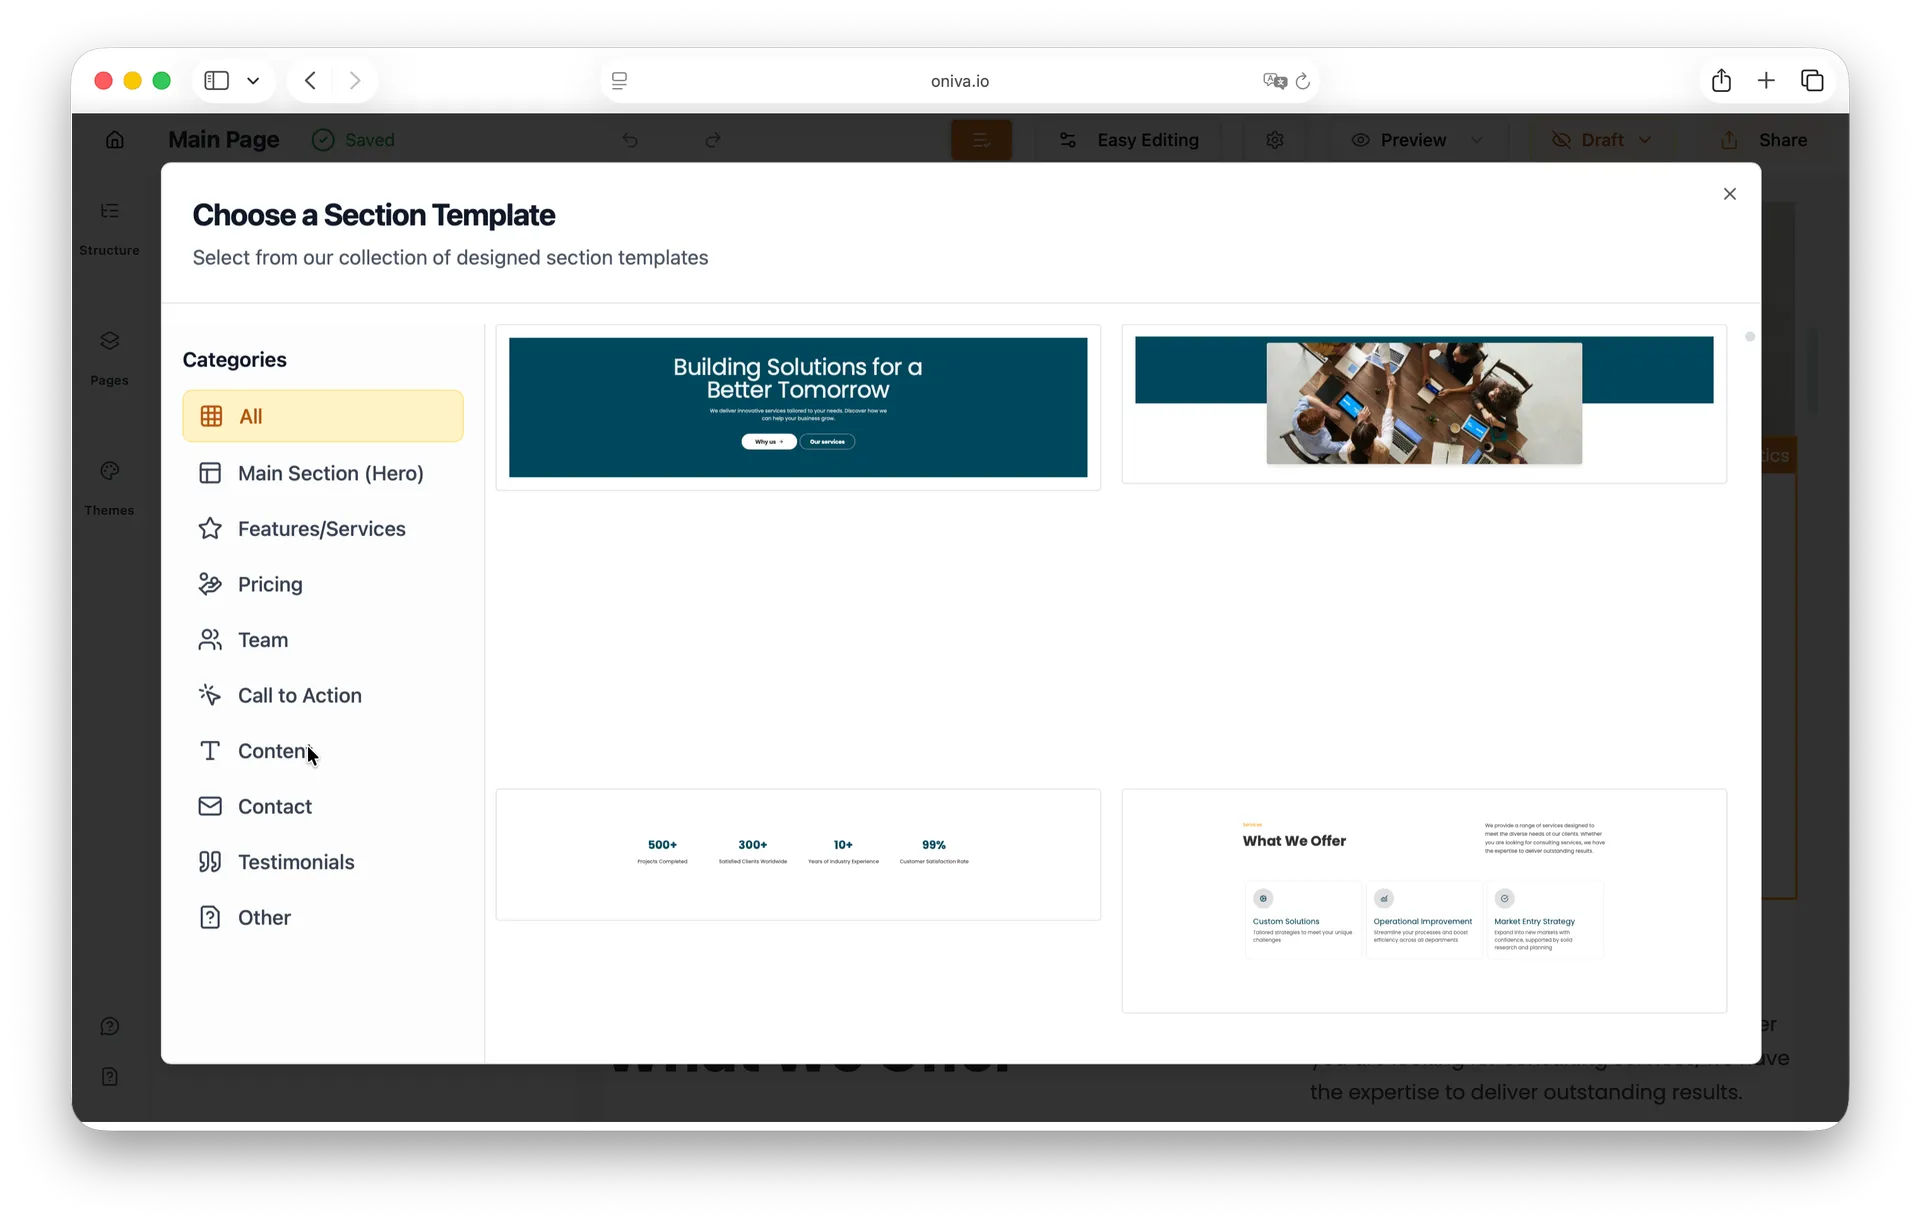
The new section will be added below the selected section.
All sections automatically use the colors and font from your website’s theme. When you add a new section, it’s instantly styled to match your theme, keeping your site consistent and visually cohesive.
Editing a section
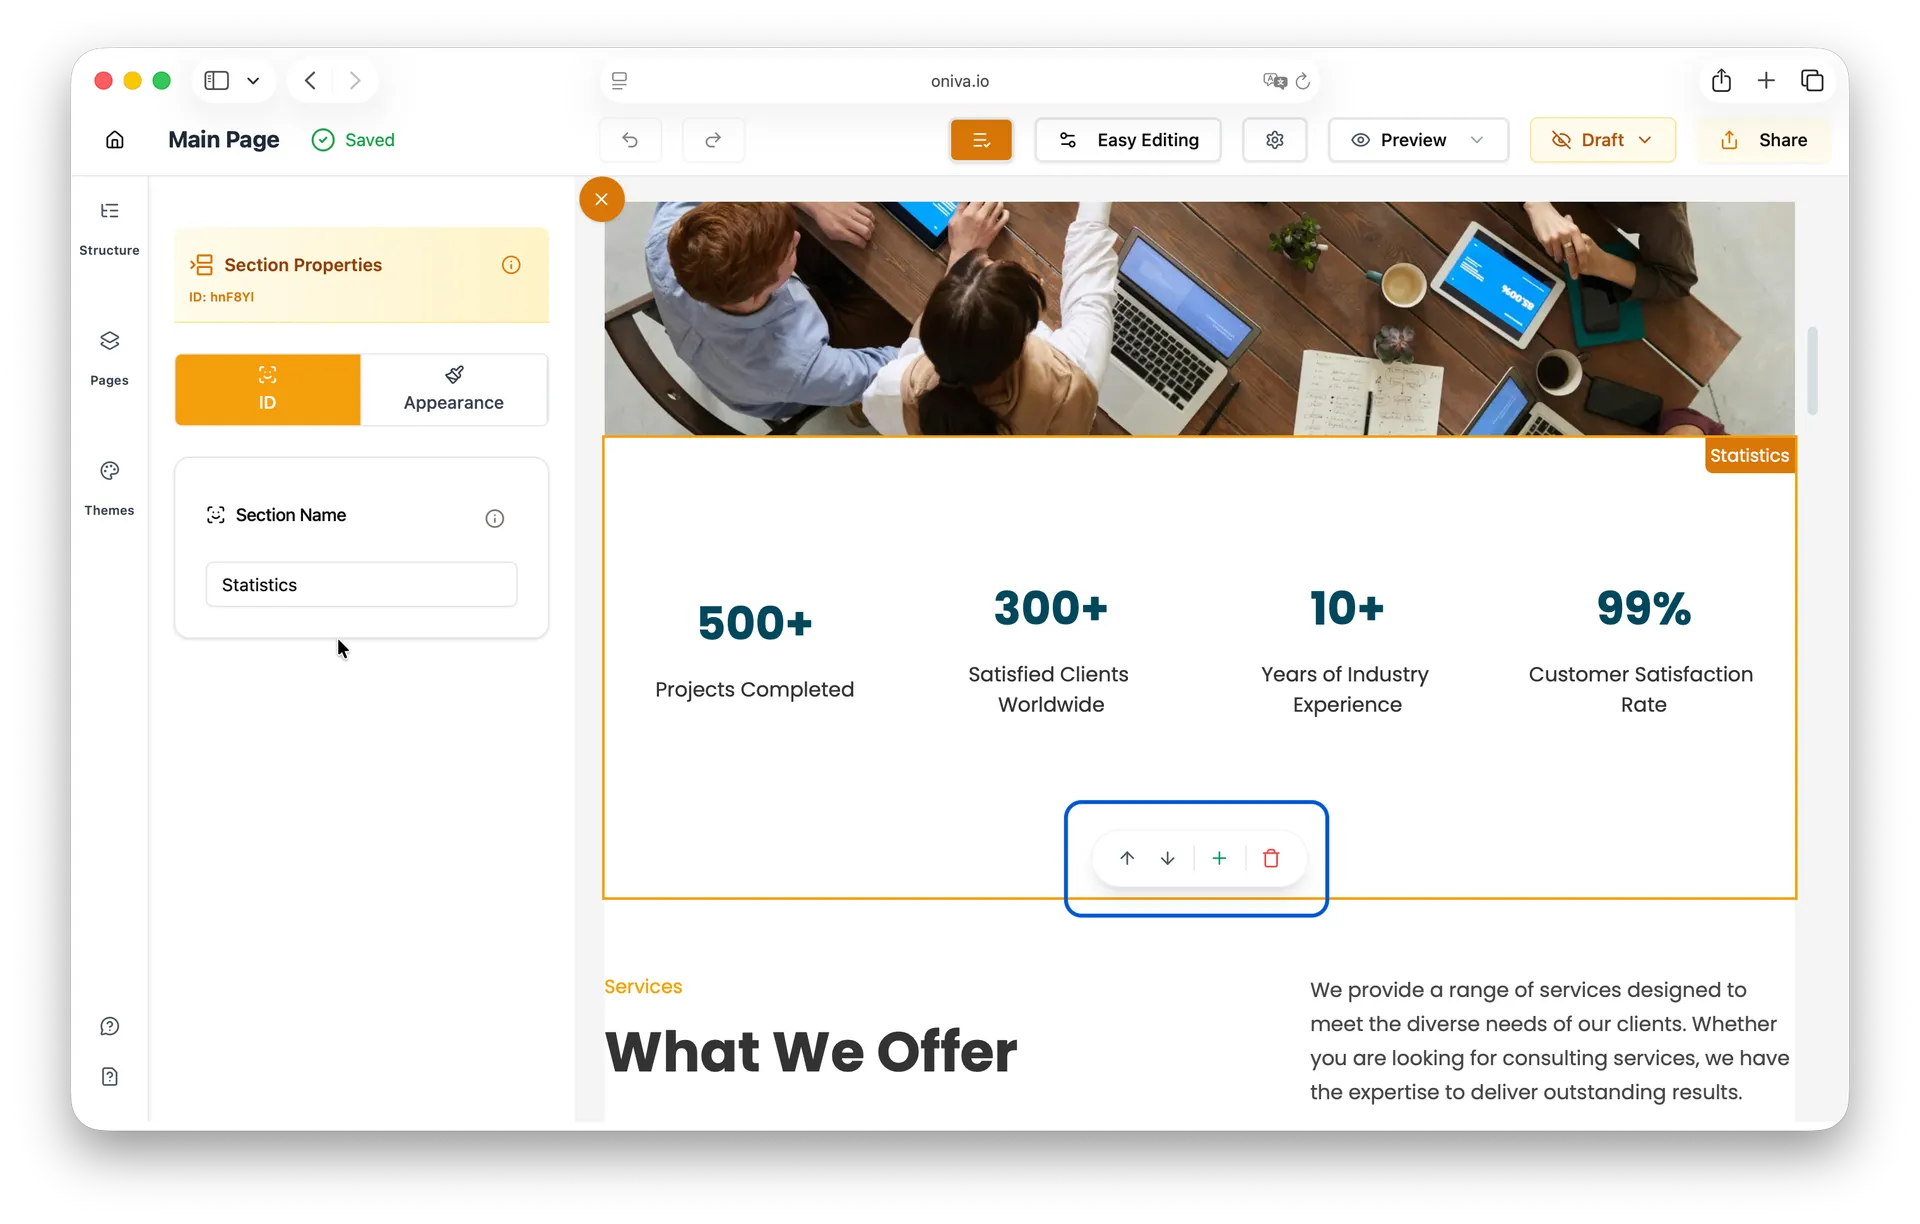
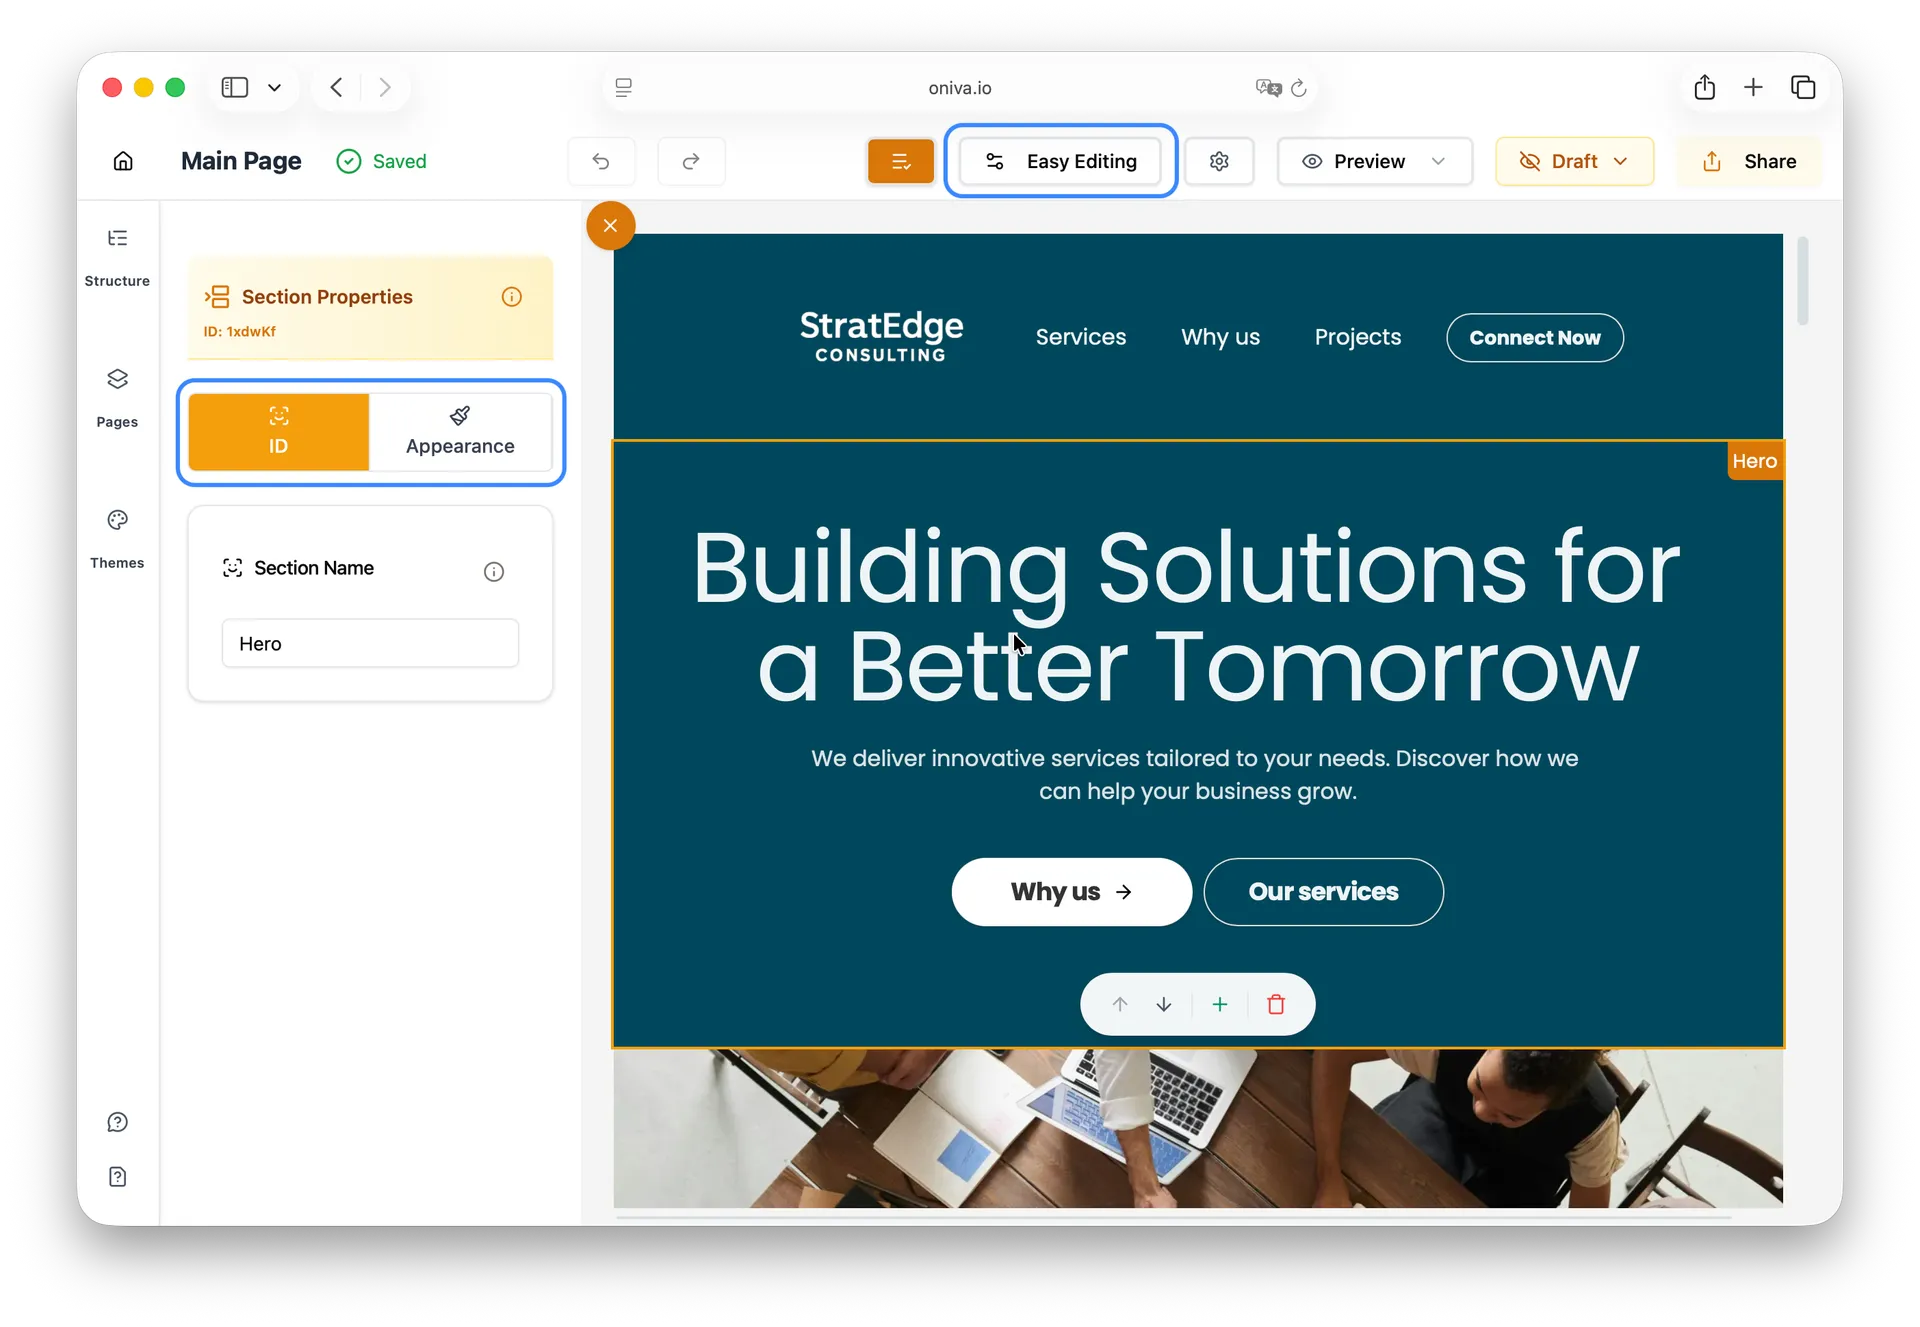
Editing sections in Oniva.io is simple. Just hover over the page until you find the section you want — it’s easy to recognize because sections are the only elements that display a name label describing their content. When you find it, click on the section, and a left sidebar panel will open with all the editing options available for that section.

There are four panels available for editing a section. The first one, ID, is where you can change the name of your section.
The section name is mainly used for organization and linking purposes. For example, when setting up scroll-to-section actions in buttons or navigation items, Oniva.io uses the section name to locate the correct section on the page. Editing the name helps you keep your website organized and ensures your interactive elements work as expected.
The second panel, Appearance, is where you can edit the background of your section.
These two panels are available in both Easy Editing mode and Advanced Editing mode.
The third panel, called Elements, gives you access to all the elements that make up the section, allowing greater flexibility for more complex edits.
The last panel, called Advanced, gives you access to the CSS classes applied to your section, in case you need to modify them.
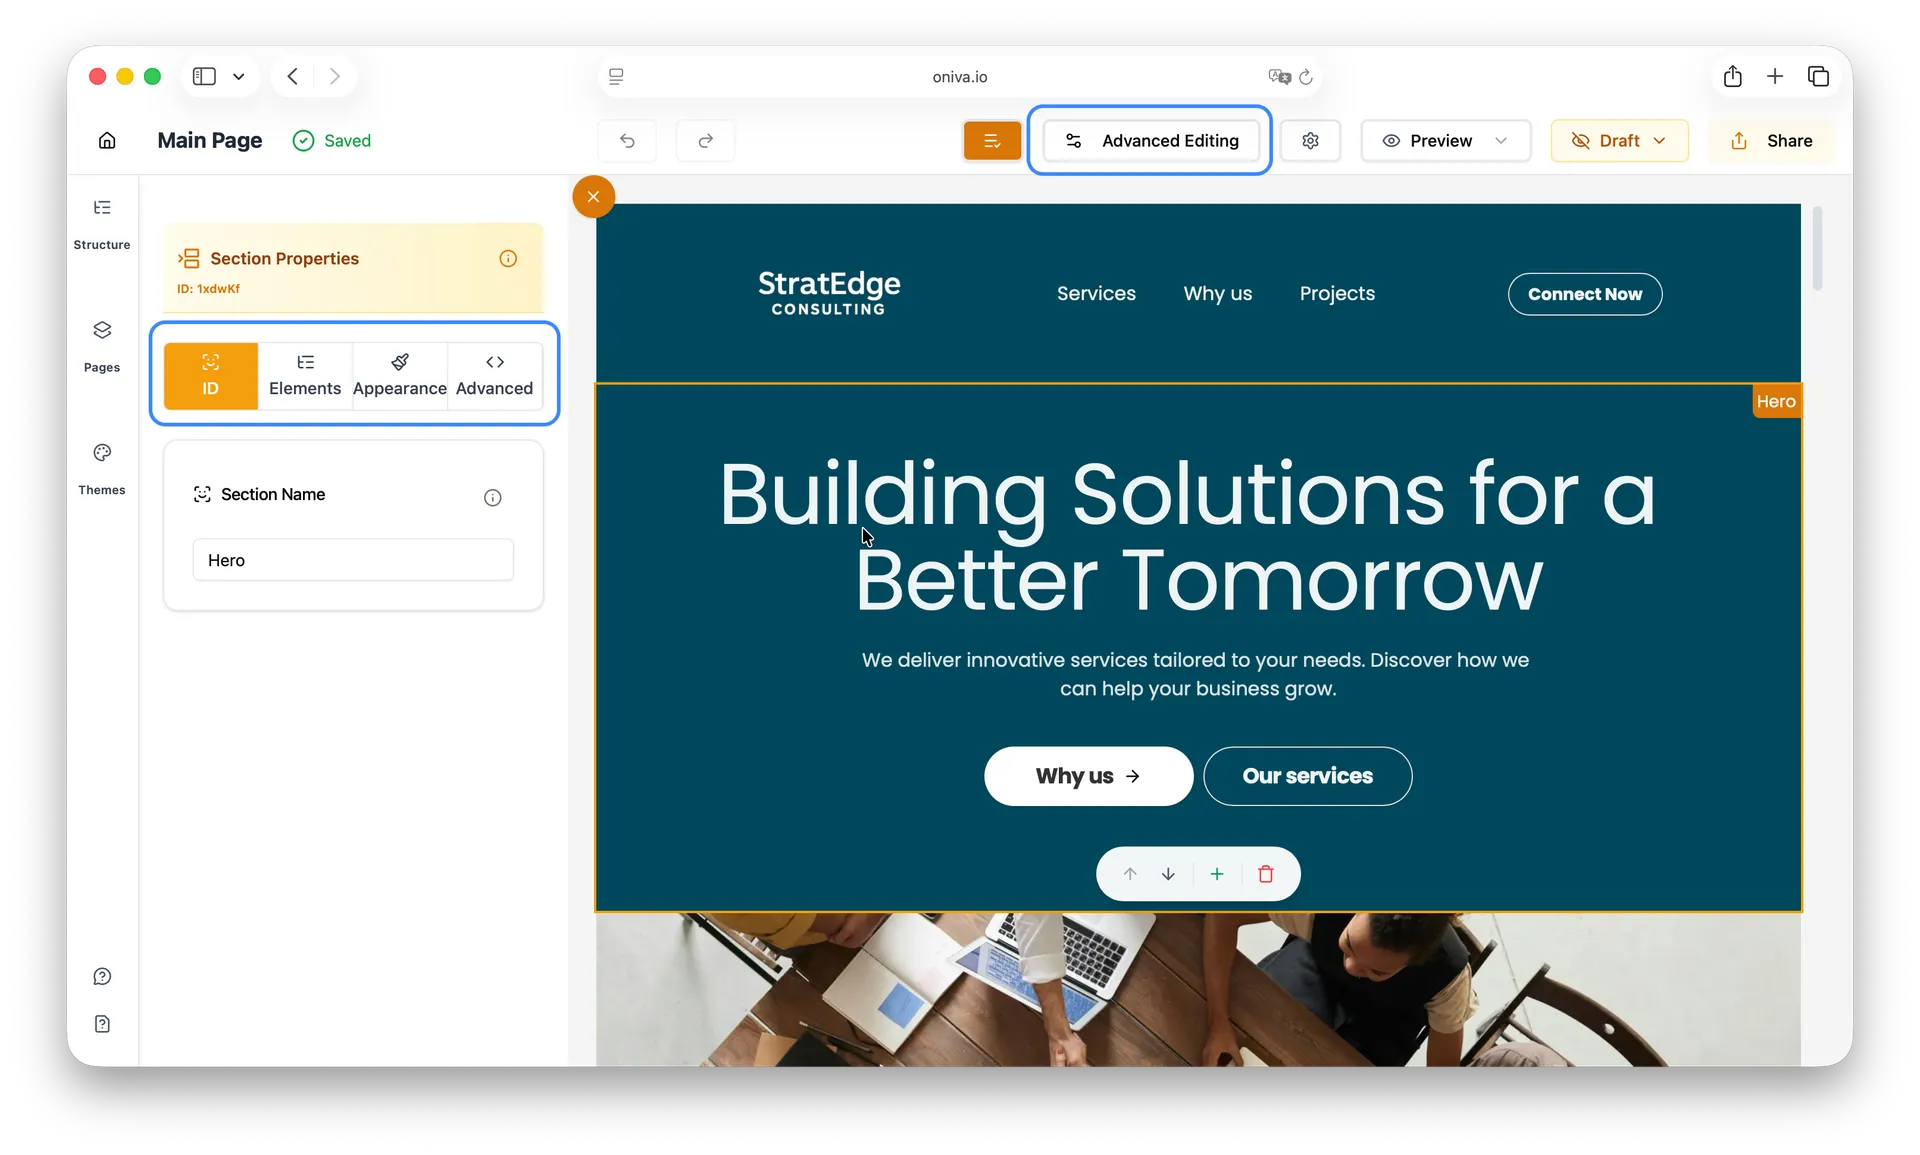
The last two panels are only available in Advanced Editing mode.
Deleting a section
This feature removes an unnecessary section from your website.

To remove a section from your website, follow these steps:
1 - Click on the section you want to delete.
2 - At the bottom of the section, click the Delete button (trash icon) on the section toolbar.
If you delete a section by mistake, you can click the Undo Arrow button in the editor header to restore it.
Rearranging sections
This feature changes the order of your sections to improve flow or prioritize content.

To reorder the sections on your website, follow these steps:
1 - Click on the section you want to delete.
2 - At the bottom of the section, click the arrow icons to move the section up or down.