Getting Started Guide
For all users
Updated Sep 2025
This guide will help you start using Oniva.io. You’ll create a website by sharing information about your business, picking a theme with colors and fonts, and letting the AI suggest a template and content for your site.
With Oniva.io, you can:
- Create a website quickly by filling out basic information about your business.
- Update your website quickly whenever needed to keep your content current.
- Control how your site appears in search engines, like Google, by setting the title, description, and other important Search Engine Optimization (SEO) information.
- Add analytics tools to track and understand how your website is performing.
- Add other important business tools, such as a chat widget or other integrations.
In this guide, we’ll walk you through your first experience on the platform. You’ll learn how to:
Share information about your business through our easy-to-fill form.
Choose a theme palette that reflects your brand’s personality.
Let our AI select a template and generate content tailored for your website.
Adjust and customize your website to make it truly yours.
Publish your site and make it live for the world to see.
How to create your website
1
About your Business
The first step in building your website is to share a little about your business. Here, you’ll enter your company name and a short description.
This information helps Oniva.io build a website that truly represents you. Think of it as introducing your business to someone for the first time. Write naturally—there’s no need to be formal or perfect. You’ll be able to review your website and edit all the generated content later.
Here are some ideas to guide your description:
- Products & Services – What do you offer? What problems do you solve?
- Your Customers – Who do you serve? What do they need?
- Mission & Values – What drives you? What do you stand for?
- What Sets You Apart – Your unique story, tone, and personality.
Example:
Business name: Sweet Morning Bakery
Description: “We’re a small neighborhood bakery serving fresh bread, cakes, and coffee every day. Our mission is to bring people together around simple, homemade food. Most of our customers are families and young professionals looking for a cozy spot to enjoy breakfast or take something delicious home. What makes us special is our use of natural ingredients and recipes passed down through generations.”
In this step, you’ll also choose the language of your website and select how you’d like your site to sound: professional, friendly, playful, inspirational, or luxury.
Tone of Voice Options:
When setting up your website, you can choose how the text will sound. This defines the style and personality of your site’s content.
- Professional – Clear, formal, and trustworthy. Ideal for businesses that want to show expertise and reliability, such as law firms, consulting agencies, or medical services.
- Friendly – Warm, approachable, and conversational. Great for small businesses, local shops, or services that want to create a personal connection.
- Playful – Fun, energetic, and creative. Works well for brands targeting younger audiences, lifestyle products, or businesses that want to show personality.
- Inspirational – Motivating, uplifting, and aspirational. Perfect for organizations with a mission, like nonprofits, coaches, or wellness brands.
- Luxury – Elegant, refined, and exclusive. Best for high-end products, premium services, or brands that want to highlight sophistication.
2
Design & Branding
In this step, you’ll select a set of colors and fonts to apply to your website. Start by choosing a theme from the list we provide—the one that best matches your brand.
Once you select a theme, you’ll see an example of how the colors are applied. If you’d like, you can also customize the theme by changing the colors and fonts to better fit your style.
To change a color, simply click on the square that shows it. You can either pick one of the suggested colors or choose a different one by clicking the circle in the bottom corner.
To change the font, just click on the select menu and choose the one you prefer.
Don’t Worry!
You can change your theme anytime. After your website is created, you’ll be able to update colors and fonts as often as you like—so there’s no need to stress about making the perfect choice now.
3
Additional Information
Optional
In this step, you can add your logo and social media links to make your website more complete.
Adding Your Logo:
Click on the logo area and then click Choose File to upload your logo.
Adding Social Media:
Click on the social media area and then click Add Social Media. Choose the platform and enter your profile link.
Don’t Worry!
If you prefer, you can skip this step and continue—the good news is that you’ll be able to add or update your logo and social media links later at any time.
How to customize your website
Your Website Is Created!
Your website has now been created. In this stage, we’ll guide you through the main customizations so you can review and fine-tune your site. Check the text, images, colors, and layout to make sure everything looks exactly the way you want before publishing.
Reviewing your Website
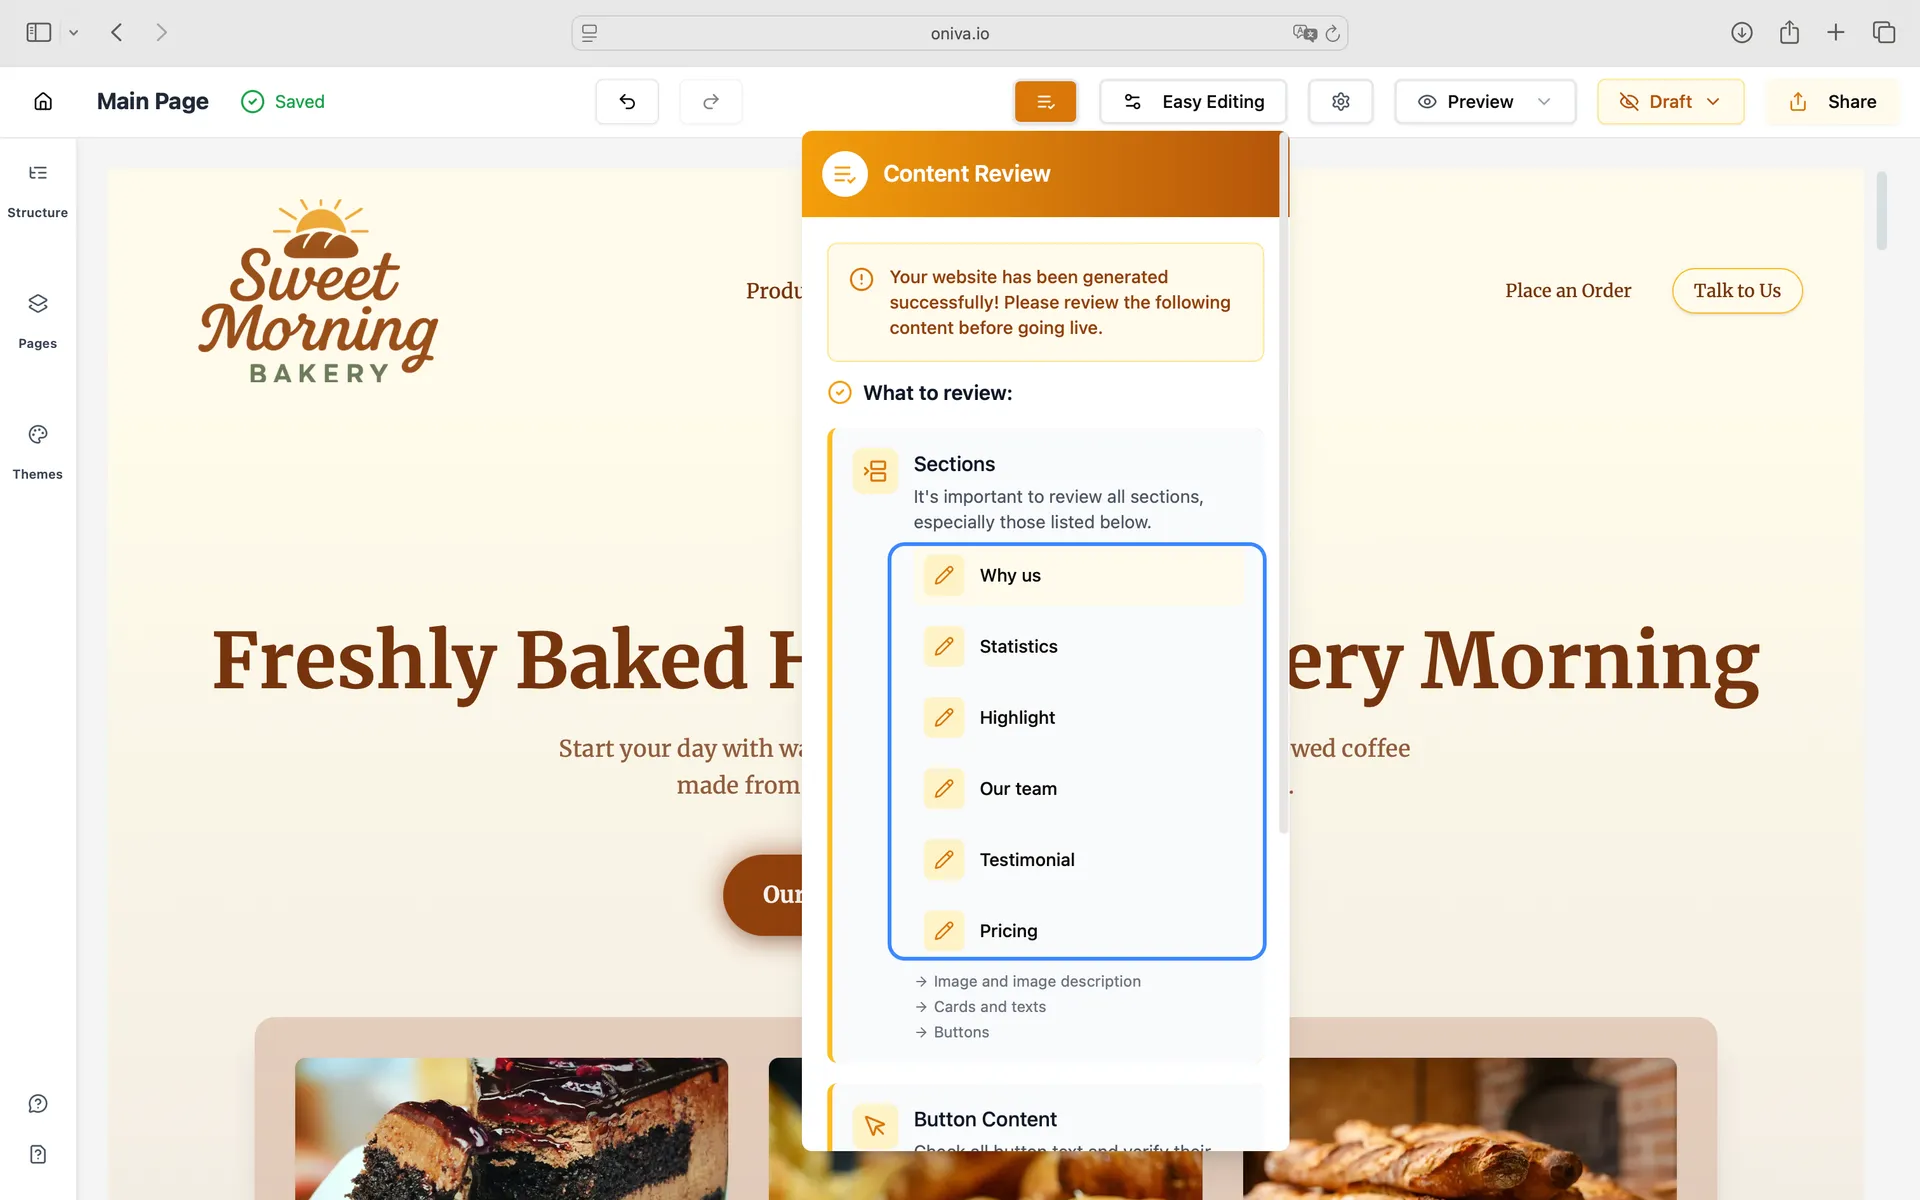
The very first thing to do after your website is created is to check all the items listed in the Content Review banner.
You can find the Content Review banner as the sixth button from right to left in the editor header. It is dark orange and highlights the areas that are crucial to review before publishing your site.
Even though our AI has generated most of your website content, there are areas it cannot fully know from the description you provided. These sections and elements require your careful review and updating to ensure everything is accurate and complete.
You should focus on:
1 - Texts: Make sure all generated text is correct, clear, and matches your brand.
2 - Images and Icons: Verify that all images and icons are appropriate, high-quality, and properly displayed. Also, check that each image has an accurate description for clarity and accessibility.
3 - Buttons and Links: Check all buttons in the header, footer, and other sections to ensure they are correct, perform the correct actions and link to the right pages.
4 - Sections With Limited AI Knowledge: Any section that depends on details the AI could not infer from your description should be updated carefully.
Now, we’ll go through all the key items you need to check on your website. This will help you understand how to review and edit each part, so your content, images, buttons, and other sections are accurate and aligned with your brand.

Texts
Go through each section and read all headings, paragraphs, and lists carefully. Make sure the information is accurate, clear, and matches your chosen tone—whether Professional, Friendly, Playful, Inspirational, or Luxury. Check for spelling and grammar errors and adjust any wording that could improve clarity or better reflect your brand.
If you need to change any text, just click on it and start typing. Above the text, there’s also a menu with editing options, where you can adjust the font size, color, and alignment, for example..
Images and Icons
Now let’s take a closer look at the visual elements of your website. It’s important to review and adjust both the images and icons so they match your brand and message.
Images:
Images play a key role in making your website engaging and professional. Review each image carefully to ensure it is relevant, high-quality, and consistent with your brand.
To edit an image:
1. Click on the image to select it.
2. Replace it with a new one if necessary.
3. Add or update the image description (important for accessibility and Search Engine Optimization - SEO).
4. Select the resolution that best fits your website layout.
Tip: If you’re unsure about what “image resolution” means, just click the info icon next to the resolution selection field. There you’ll find a short explanation to help you choose the right option.
Icons:
Icons help guide visitors and make your content easier to understand. Check if each icon is clear, recognizable, and stylistically consistent.
To edit an icon:
1. Click on the icon you want to change.
2. In the left panel, select a new icon that better matches your content.
3. By default, the primary color will be applied to the new icon. If you prefer to keep the original color, simply click the trash icon to restore it.
Buttons and Links
Your website contains different types of buttons and links. Each one plays a role in navigation and interaction, so it’s important to review them carefully.
The four main types are:
1. Generic Buttons – Used throughout your website for actions such as “Learn more” or “Get started.”
2. Navigation Items – Buttons that appear in your website’s header and footer to guide visitors through sections or pages.
3. Social Media Buttons – Direct links to your social media profiles.
4. Links – Any other clickable text that redirects users to another page or resource.
Make sure all button labels and links are clear, accurate, and point to the right destination.
Generic Buttons:
These are the buttons you’ll see inside sections (like Learn more or Get started).
To edit:
1. Click on the button you want to edit.
2. In the left pannel, you can change the text, update the button action, and adjust style options.
Tip: If you’re unsure about what “button action” means, just click the info icon next to the button action field. There you’ll find a short explanation to help you choose the right option.
Navigation Items:
These appear in the header and footer of your website, helping visitors move between pages or sections.
To edit it:
1. Go to the header or footer of your website and click on one of the navigation menu items.
2. Click on the last icon of each navigation item to open the edit panel. From there, you can change the text and select the button action you want it to perform.
3. To reorder the navigation items, simply drag and drop them into the order you prefer.
Social Media Buttons:
These buttons connect your website to your business’s social media profiles. They usually appear in the footer (to show your official profiles) and in some sections where company members are introduced.
To edit it:
1. Click on the social media button you want to update.
2. Click on the last icon of each social media button to open the edit panel. From there, you can change the platform, paste your social media URL, and customize both the button color and the icon color.
3. To reorder the social media buttons, simply drag and drop them into the order you prefer.
Links:
Links are always text elements inside your content
To edit it:
1. Click on the text that contains the link.
2. In the toolbar above, select the option to add a link (it's the last button).
3. Enter or update the URL where the link should point.
Sections With Limited AI Knowledge — what they are and how to handle them
Some parts of your site require facts the AI cannot know from your short description. These must be reviewed and filled in with exact information. Below are common examples and what to check for each:
- Contact & Hours: phone, email, physical address, opening hours.
- Team / Meet the Team: names, roles, bios, photos.
- Pricing & Plans: exact prices, currencies, billing terms.
These sections appear in the Content Review banner. To access them, simply click on the section name in the banner, and you will be redirected to it.
To edit the elements in these sections, simply follow the same editing steps explained earlier for each type of item (texts, images, icons, buttons, or links), depending on what you need to update.
Deleting Unnecessary Sections:
If there’s a section you don’t need on your website, you can remove it easily:
1. Hover over the section you want to delete.
2. Look for the trash icon at the bottom center of the section.
3. Click the trash icon to delete the section.
Tip: If you delete a section by mistake, you can undo the action by clicking the undo arrow in the page header, next to the Saved icon.
Adding New Elements
To keep your website layout clean and organized, in the Easy Editing mode, you can only add new elements inside a grid.
What is a Grid?
A grid is a layout structure that divides a section into rows and columns. It ensures that elements like text, images, icons, and buttons are aligned and evenly spaced, keeping your website visually balanced.
To add new elements:
1. Select the grid in the section where you want to add content.
2. In the left pannel, go to the Elements tab.
3. You have two options:
- Duplicate an existing element already in the grid: click the three dots on the element’s card and select Duplicate from the menu.
- Add new elements: Click “Add New Elements” and select from the available element templates.
4. Once added, the new element will automatically align within the grid.
5. You can then edit the element following the same steps for text, images, icons, or buttons.
Advanced Editing mode
The process of adding and editing elements is the same in Advanced Editing mode. The main difference is that in this mode, you can add elements to any type of layout, not just grids, giving you more flexibility in arranging your content.
Website Theme
The website theme controls the overall look and feel of your site, including colors and fonts. Choosing the right theme helps your website reflect your brand identity and provides a visually appealing experience for visitors.
Tip: Changing colors and fonts through the theme makes it easier to maintain consistency across your entire website, because the selected colors and fonts are applied automatically to all pages and sections.
You’ve already selected a theme when creating your website.
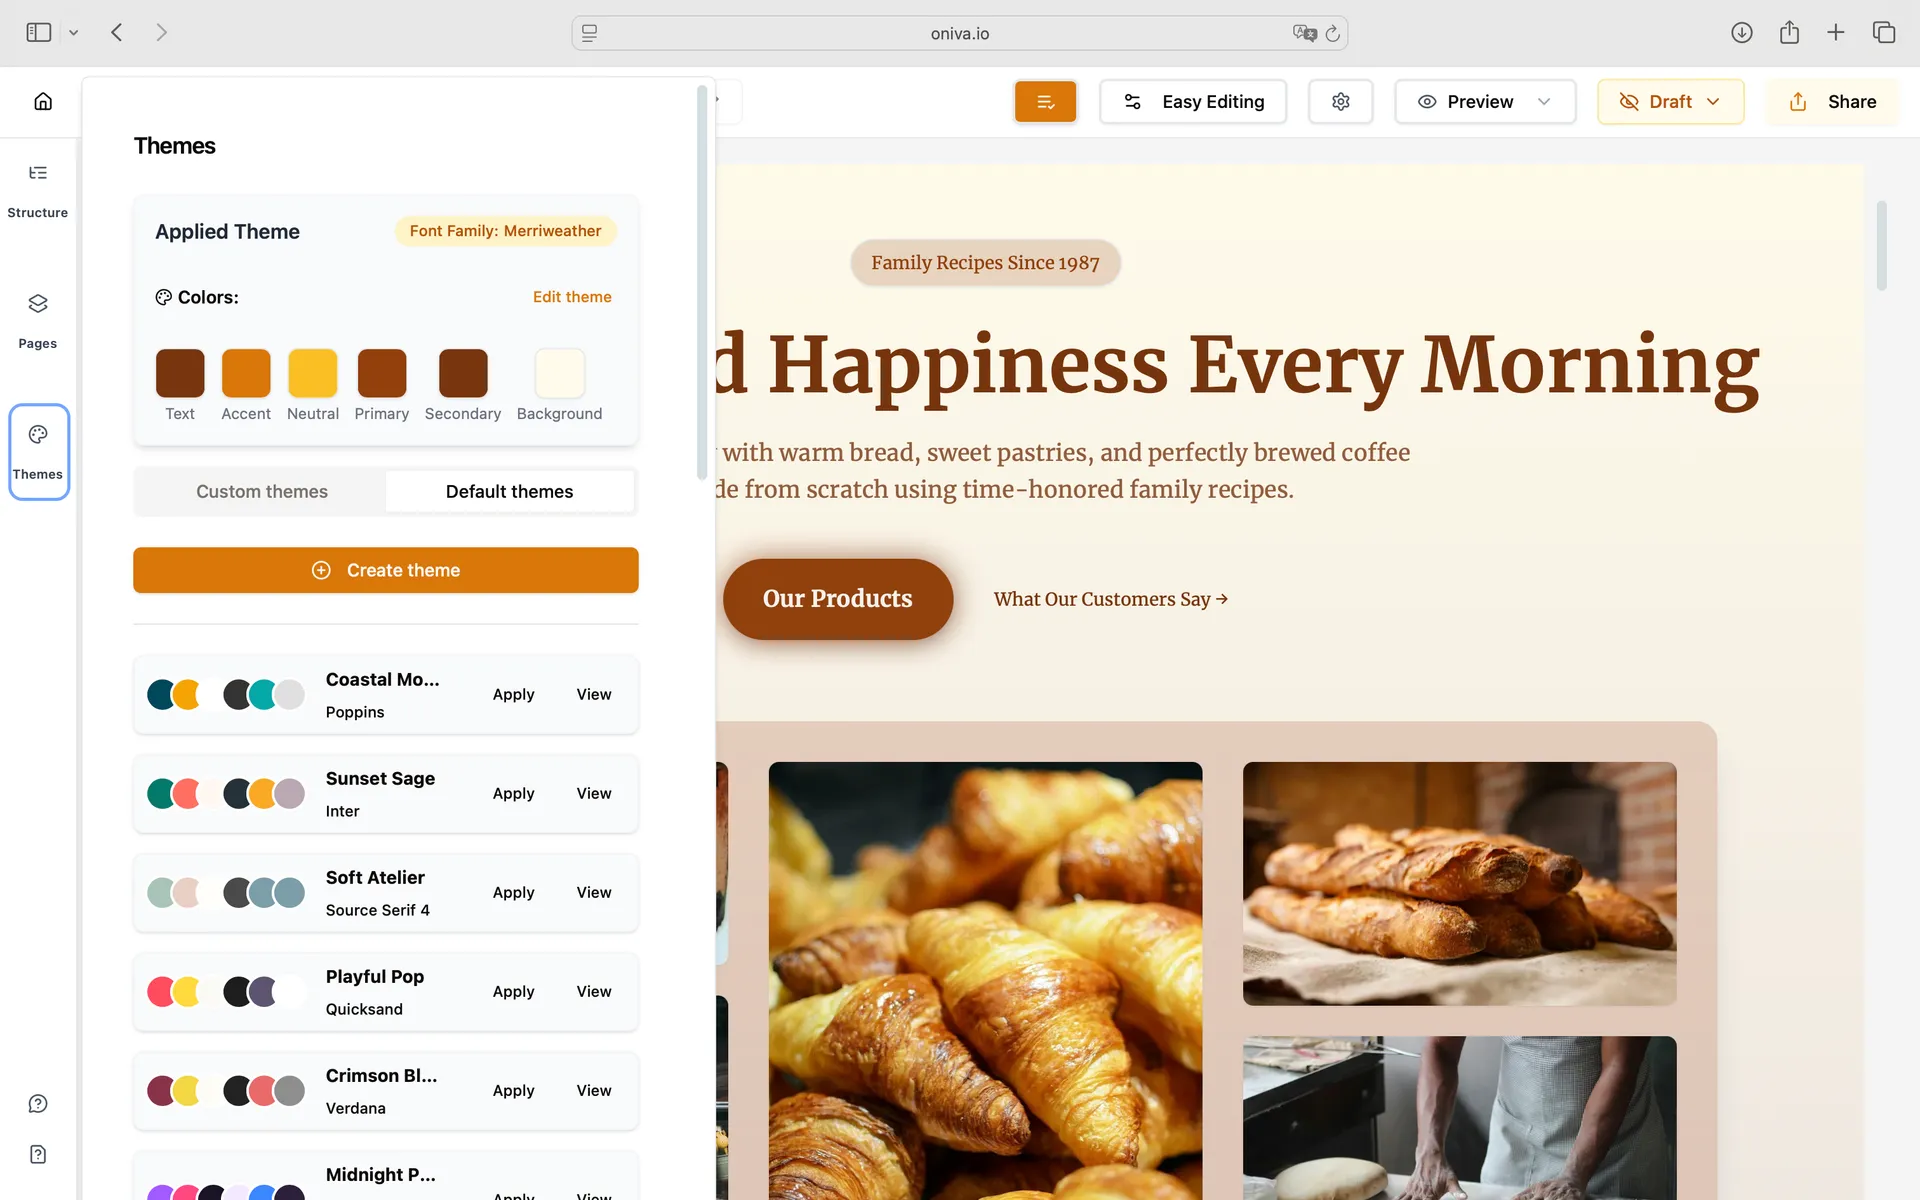
However, if you want to change it later, simply click the Theme button in the left corner of the screen.
Clicking the Theme button will open a panel where you can:
- Edit the currently applied theme, adjusting colors and fonts.
- Select a different pre-made theme if you want a new look.
- Create a new theme from scratch and save it to use in other projects.
Publish and Share your Website
Once you’ve reviewed and customized your website, now is ready to go live. In this section, we’ll guide you through publishing your site so it’s accessible to visitors and sharing it to reach your audience effectively.
Publising your Website
To publish your website, go to the editor header and click the button labeled Draft. From the menu that appears, select Publish. Once you do this, your website will be live and accessible to visitors.
Sharing your Website
Once your website is published, you can share it with your audience. Click the Share button in the editor header to access your website URL. You can then distribute this link through email, social media, or messaging apps so visitors can easily access your site.